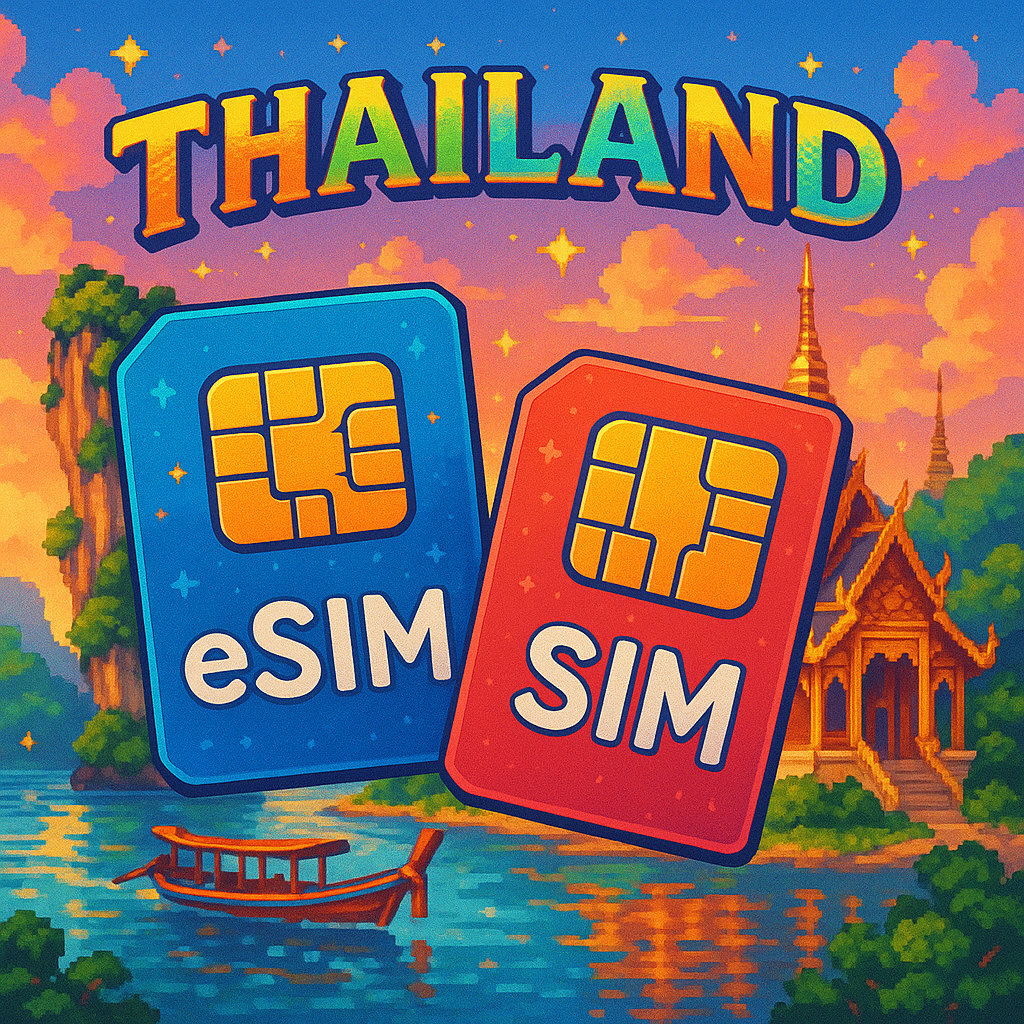
Steps to Get a Tourist SIM or eSIM in Thailand
1. Physical SIM card:
Ensure your phone is unlocked. Visit an official Telco store (AIS, TrueMove H, DTAC) or buy at airport or convenience stores. Present your passport for registration—required across all providers. The SIM is activated immediately.
2. eSIM:
Check your phone supports eSIM (most recent iPhone, Pixels, Samsung Galaxy, etc.). Pick provider & plan online based on data needs and duration. Purchase and receive QR code or activation link via email/app. Scan and install the eSIM—install before arrival for instant connectivity on landing.
Brief Reviews & Recommendations
Airalo is widely considered the most reliable and cost-effective eSIM. Many travelers praise its consistent connectivity—even in remote areas like Chiang Mai jungle treks. Nomad offers good coverage via Thai networks and flexible pricing, though lacks voice/SMS. Holafly shines for users needing unlimited data and fast setup, but costs more. Excellent if streaming or remote work are key. aloSIM is one of the cheapest, with basic plans—good if you’re light on data and don’t need unlimited. Saily is a budget standout with built‑in ad-blocking and privacy tools via Nord Security, though only data‑only and varying regional reliability.
Quick Recommendations
Prefer ease of arrival and instant activation → choose an eSIM (Airalo, Nomad, Holafly, aloSIM, or Saily). Need voice calls/SMS or unlimited calls → go with physical SIM from AIS or TrueMove/DTAC. For longest 5G coverage & best speeds → AIS wins; TrueMove is nearly as good; DTAC is a bit slower but still solid especially on islands. Travelling light and want just data → Airalo or aloSIM. Want VPN & privacy by default → Saily. Streams and needs high throughput → Holafly.
